 /* Code Comments */
getting started with tmux
2020-11-20
|~8 min read
|1545 words
Learning tmux has been on my list of projects for months. Right next to making a concerted effort to learn vim. Well, looks like I’m getting to tmux first. This post is mostly a list of reminders for how to use tmux to effectively manage terminal windows.
- What is tmux?
- Getting Started
- Pane management with tmux
- Layouts
- Window Management
- Reusing Tmux Sessions
- Killing Tmux Sessions
- Naming Sessions
- Conclusion
- Resources
What is tmux?
The tmux project describes tmux in the following way:
tmux is a terminal multiplexer. It lets you switch easily between several programs in one terminal, detach them (they keep running in the background) and reattach them to a different terminal.
What that means to me: window/session management that can persist even after you close it to do something else!
What else? Well, it’s a tool that seemingly everyone I know who’s proficient with the command line swears by and that’s a big reason why it’s been at the top of my list of tools to learn for a while! Let’s dig in, shall we?
Getting Started
Pre-requisites: before using tmux, it needs to be installed.
To start tmux, enter tmux into the terminal.
The default prefix key is C-b which means ctrl-b.
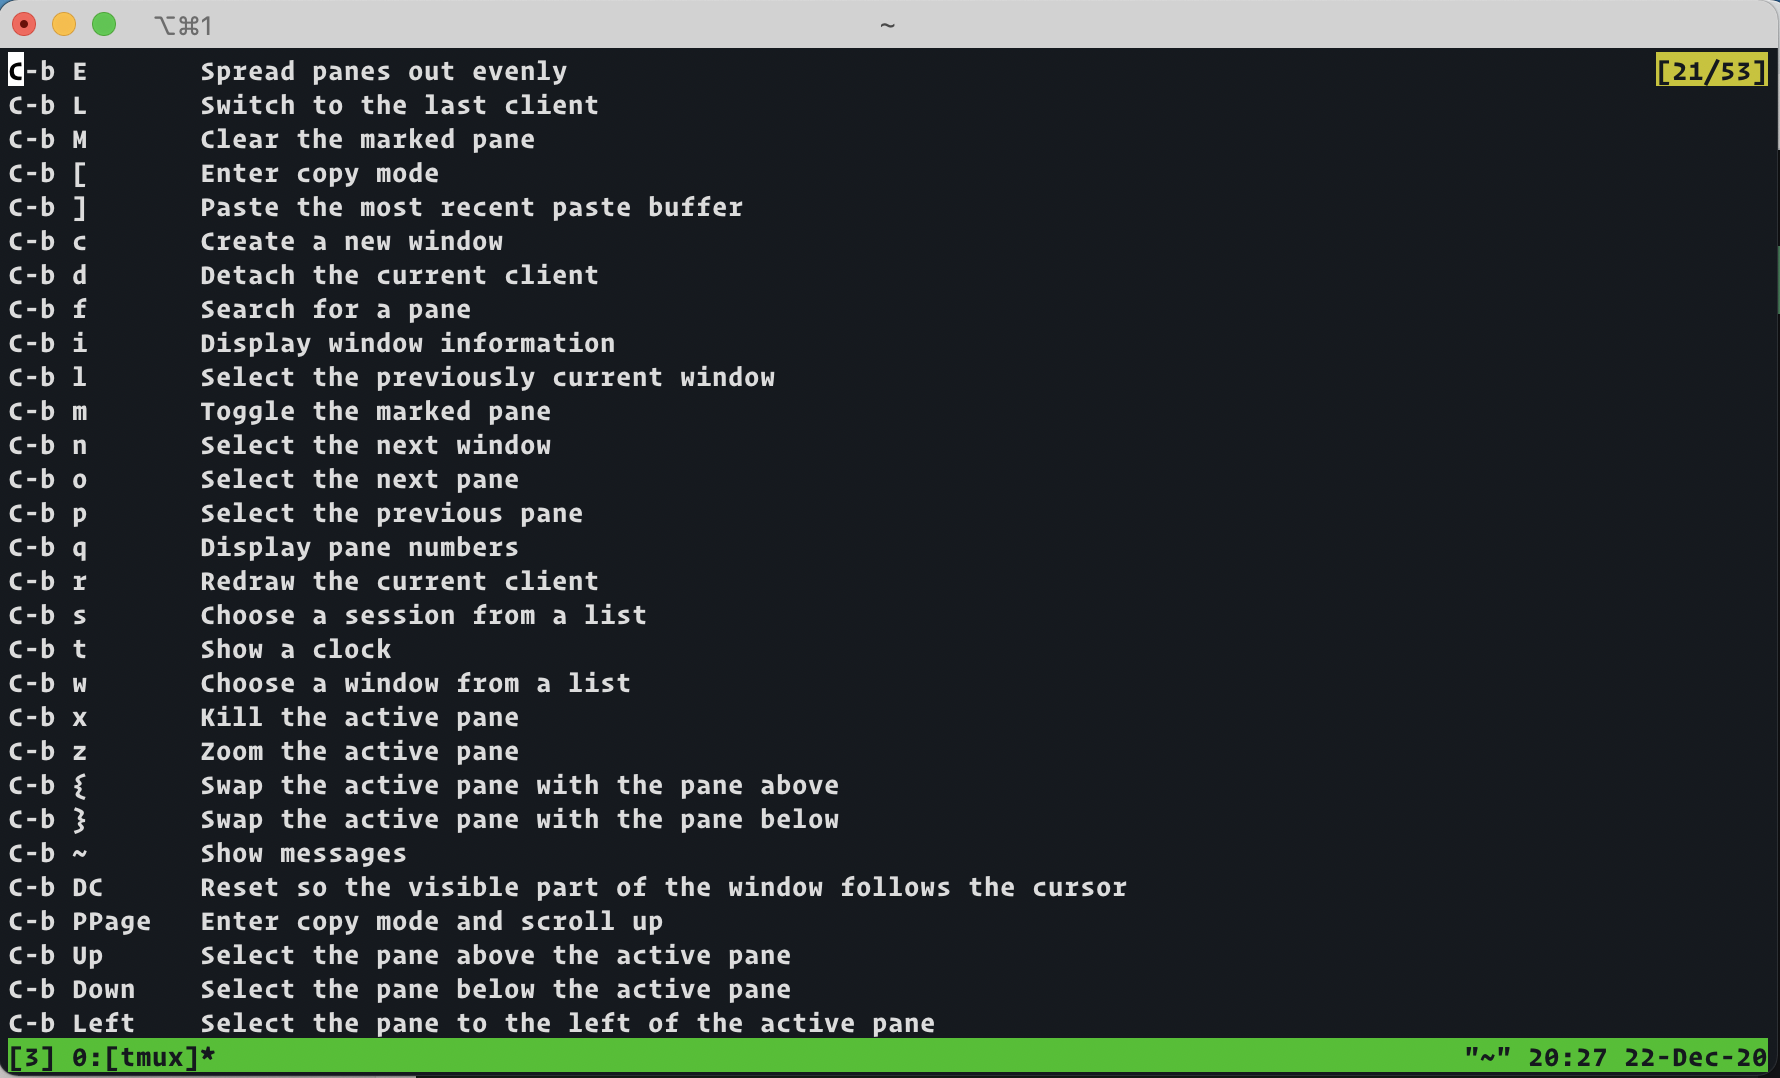
A list of all tmux shortcuts can be seen with C-b ?
Pane management with tmux
Some basic pane management within a tmux window is achieved with the use of hot keys:
- A new vertical pane is
C-b % - A new horizontal pane is
C-b " - To navigate the panes, use `C-b + Arrow Keys”
- To kill a pane,
C-b x - To show pane numbers, use
C-b q - To swap pane numbers, use
C-b o
(More options can be found here)
To close a window pane, you can type exit or use C-d
We can also resize panes in two ways - zooming in/out and resizing up/down, left/right.
Zooming in to a pane that’s in focus will expand it to fill the entire terminal window. Zooming out will collapse it back to the size it was before. Both zooms use the same key and the direction depends on the current state (i.e., if you’re currently zoomed in, zooming will zoom out and vice versa). To zoom, the tmux shortcut is C-b z.
If all/nothing is not the desired approach, we can also resize the pane using the resize-pane command. To do this, we need to use the tmux command pane, which we can access with C-b :. Once the status line goes from green to yellow, we can resize:
resize-pane -D 30or
resize-pane -U 70or
resize-pane -L 20or
resize-pane -R 40These will resize down 30 pixels, up 70 pixels, left 20 pixels and right 40 pixels respectively.
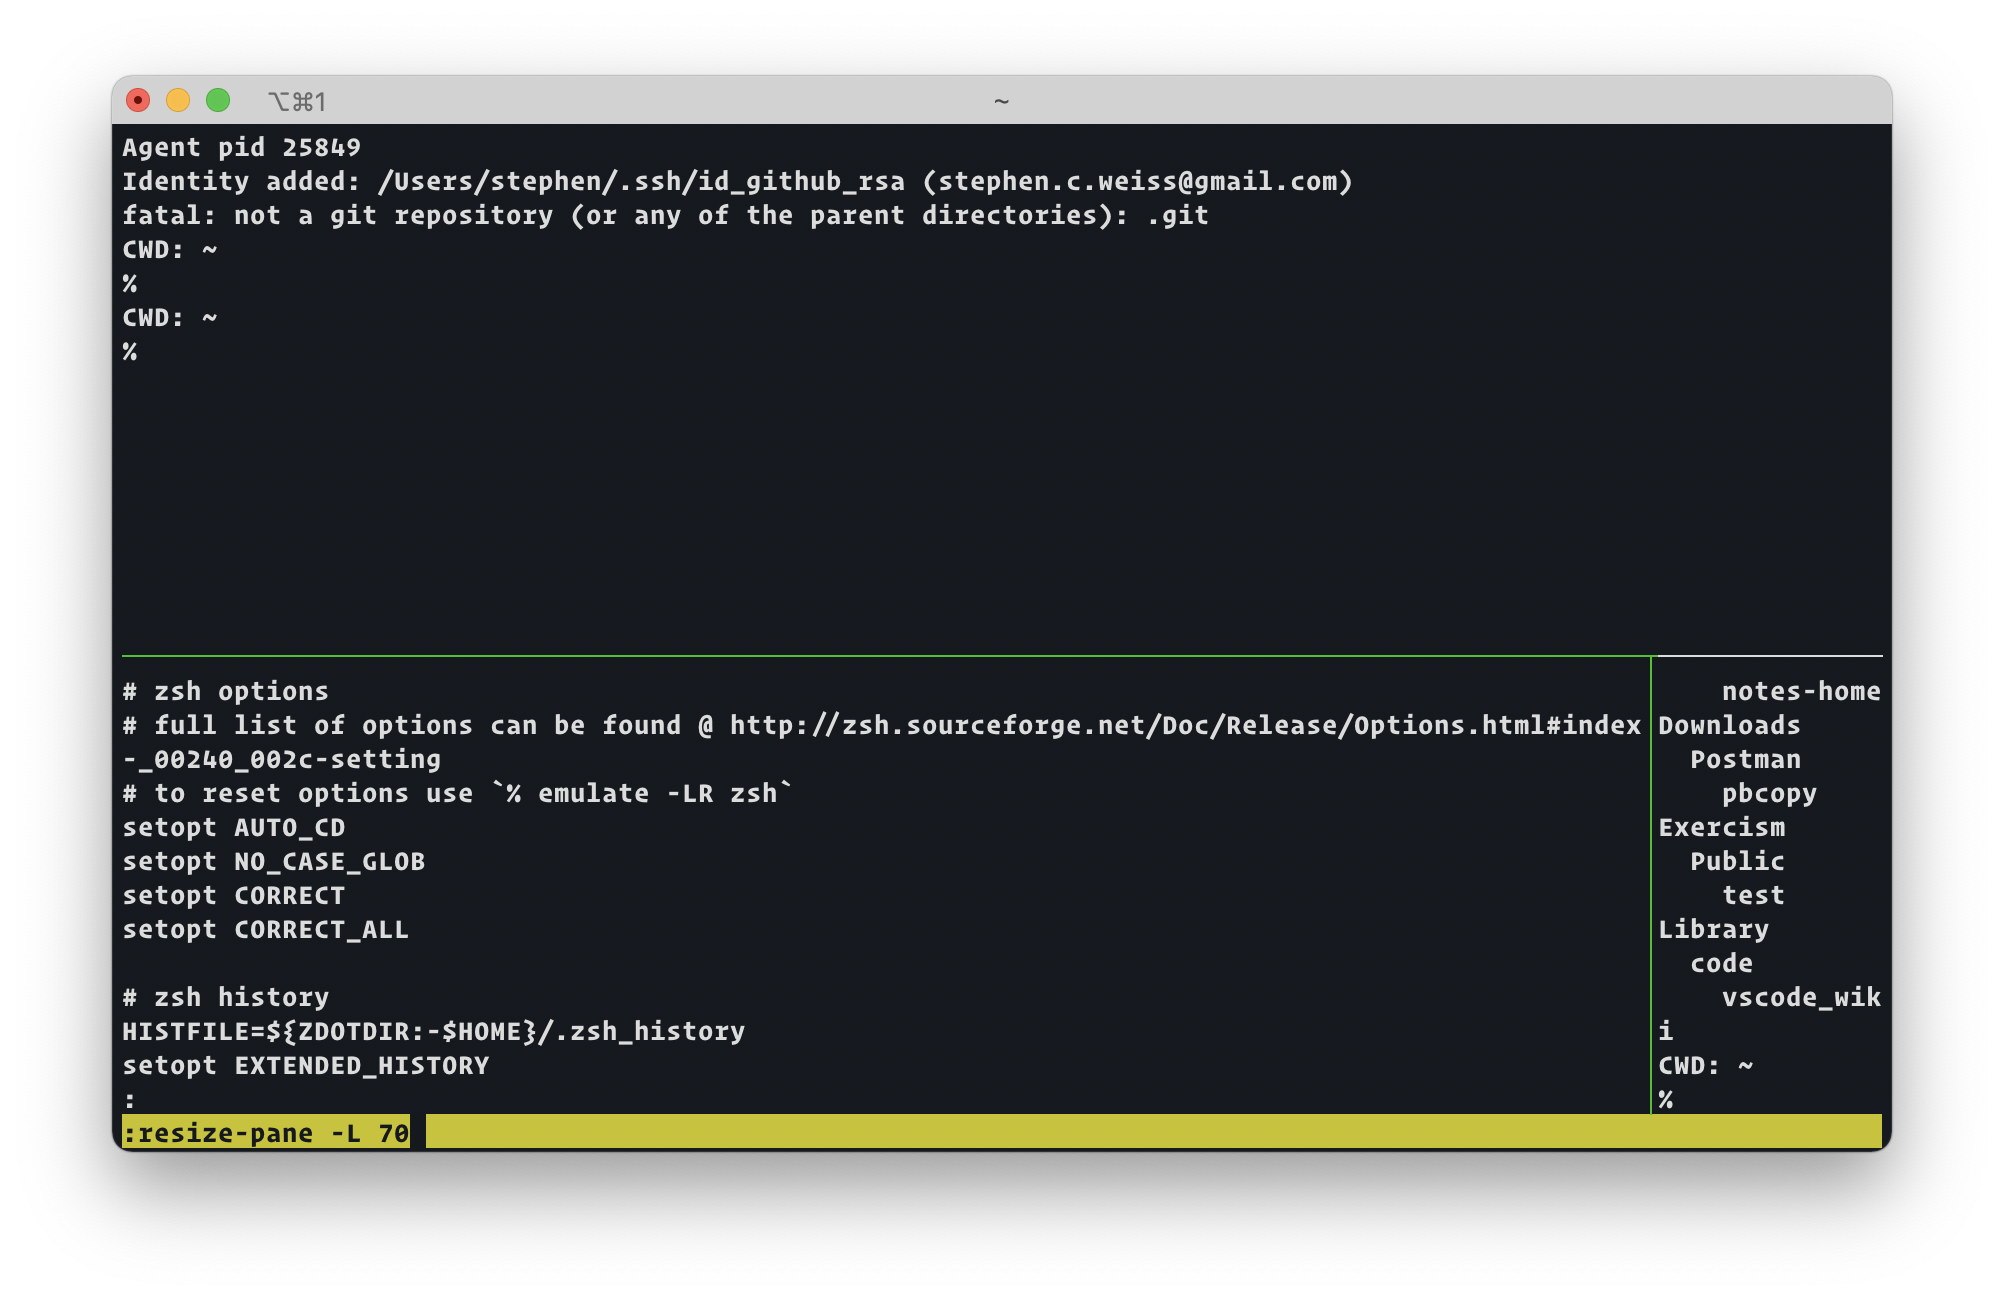
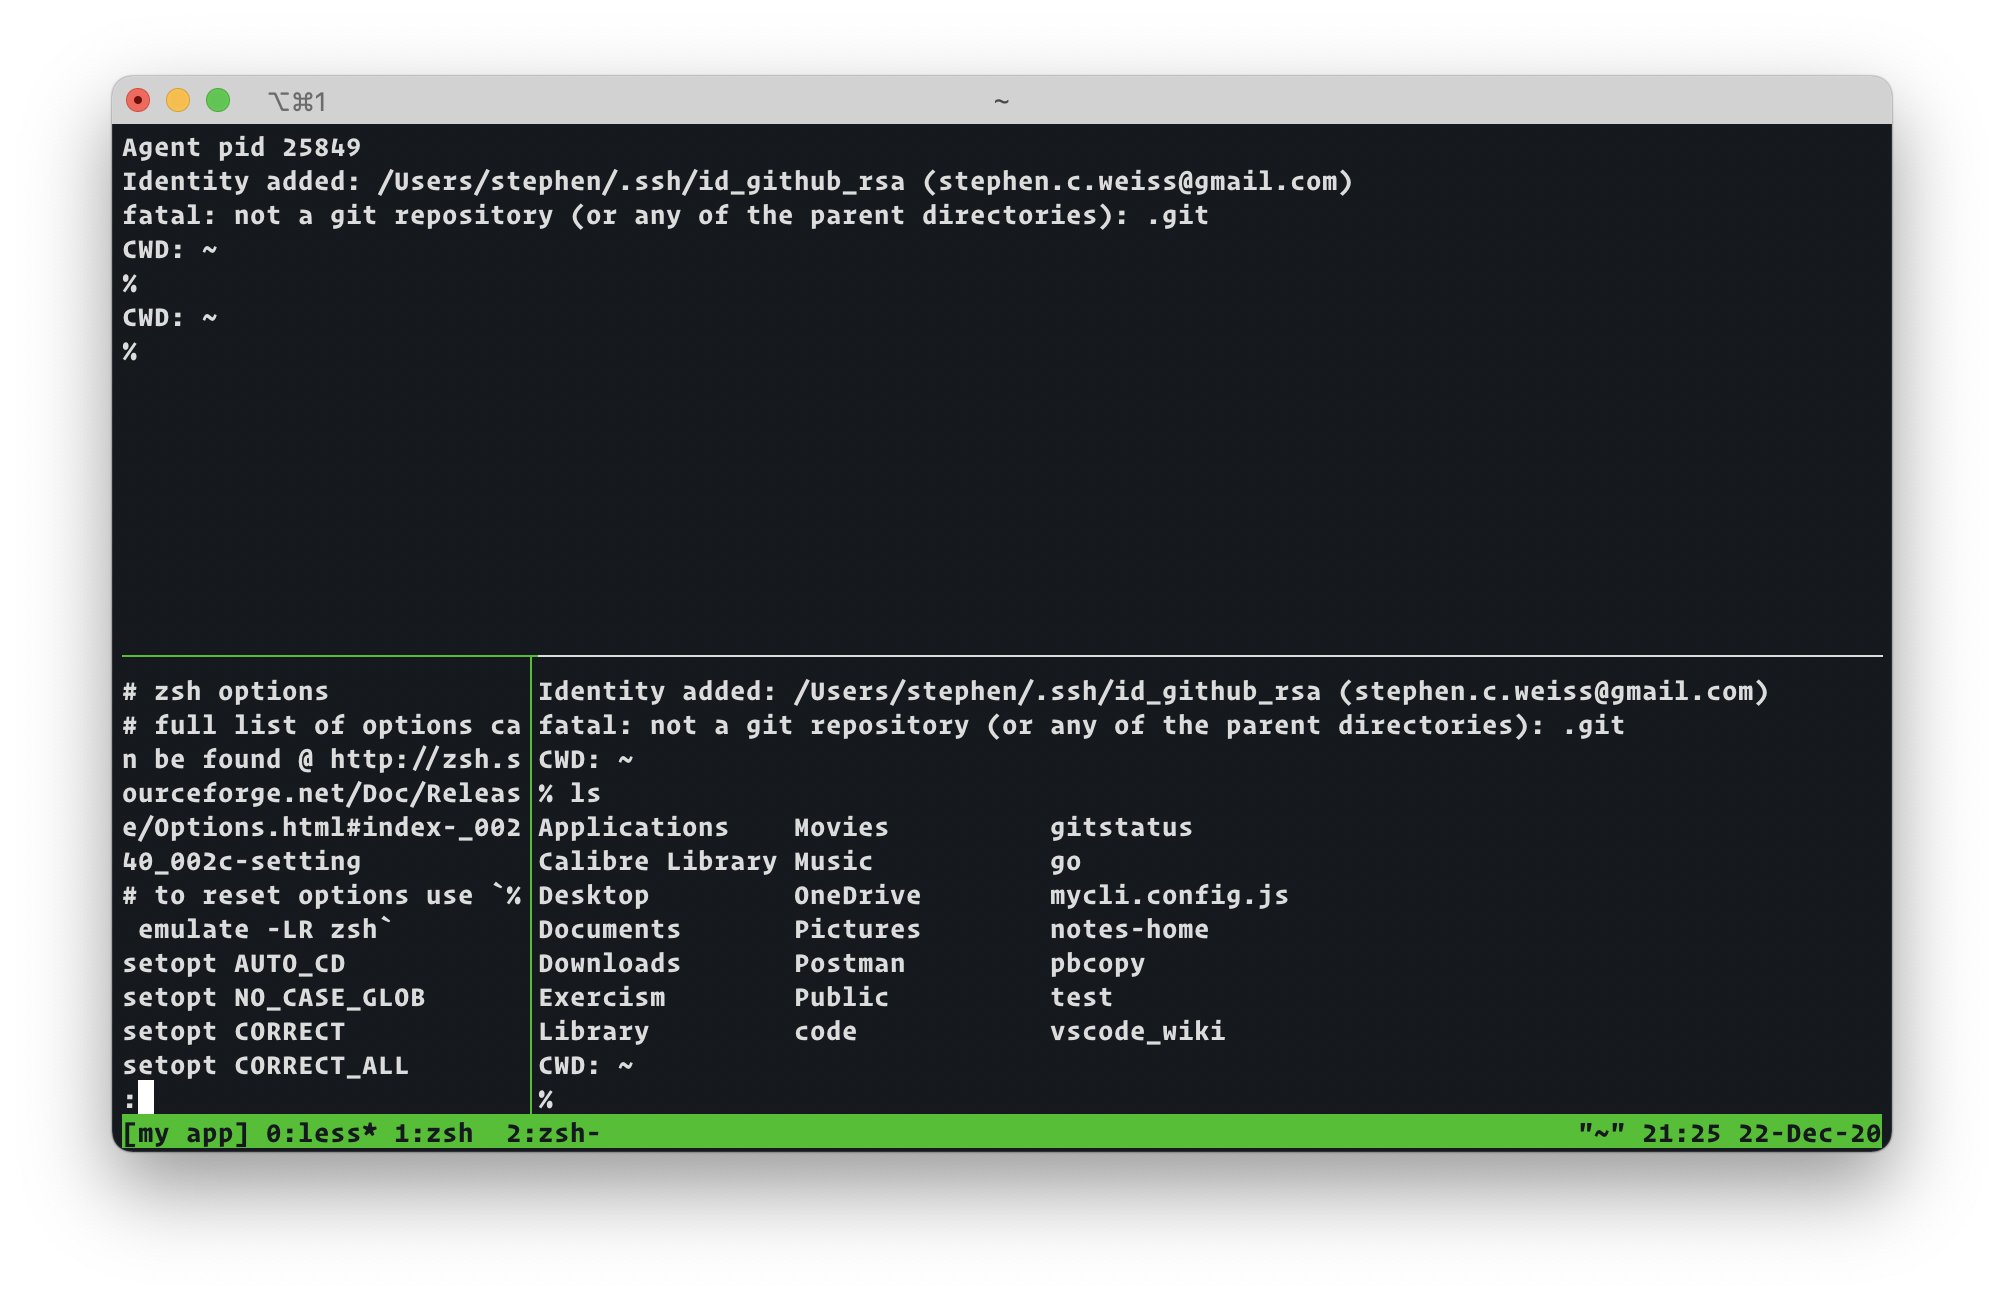
Becomes:
Alternatively, you can use the keyboard shortcuts to resize. The defaults are:
C-b M-Up    Resize the pane up by 5
C-b M-Down  Resize the pane down by 5
C-b M-Left  Resize the pane left by 5
C-b M-Right Resize the pane right by 5
C-b C-Up    Resize the pane up
C-b C-Down  Resize the pane down
C-b C-Left  Resize the pane left
C-b C-Right Resize the pane right
Layouts
A related concept to resizing is layouts. tmux comes with several default layouts which you can use as a baseline. The default keybindings are:
C-b M-1     Set the even-horizontal layout
C-b M-2     Set the even-vertical layout
C-b M-3     Set the main-horizontal layout
C-b M-4     Set the main-vertical layout
C-b M-5     Select the tiled layout
C-b Space   Select the next layout (Toggle layouts)
It may be obvious, but these layouts work best when you have multiple panes in a single window.
C-b Up      Select the pane above the active pane
C-b Down    Select the pane below the active pane
C-b Left    Select the pane to the left of the active pane
C-b Right   Select the pane to the right of the active pane
C-b o       Select the next pane (cycle through them all)
C-b ;       Select the 'last' (previously used) pane
Window Management
One of tmux’s strengths is window management for context switching.
Perhaps there are a collection of panes you want to have available as a unit and then a totally separate collection.
With tmux, this is a breeze.
Open tmux and set up the first group of windows you want - perhaps running an app with the server in one pane, tests in another, and a shell for commands like git in a third.
Then, you need ot switch to a totally separate app. Instead of closing down your work, you can just create a new window with C-b c (c for create). You can close a window with C-b &.
You’ll notice in the status bar that the window name went from [0] to [1]
Then you can move between windows (incrementally) with:
C-b nfor next, andC-b pfor previous
Summary:
C-b c           new window
C-b ,           name window
C-b w           list windows
C-b f           find window
C-b &           kill window
C-b .           move window - prompted for a new number
C-b :movew<CR>  move window to the next unused number
Reusing Tmux Sessions
Instead of setting up our sessions fresh every time, we can reuse sessions.
This is done by not exiting the session, but instead detaching C-b d
Detaching closes all sessions and returns you to a normal command line.
To see active tmux sessions, we can use:
tmux ls0: 3 windows (created Tue Dec 22 20:42:10 2020)
1: 1 windows (created Tue Dec 22 20:48:36 2020)Note we can also see existing
tmuxsessions from withintmuxwithC-b s>
To (re)attach to the most recent tmux session we can run:
tmux attachAttach, however, also takes a flag -t which can be used to specify a specific session.
In our case, we’re interested in attaching to session 0 and its three windows:
tmux attach -t 0Terminology note: the number of windows is different from the number of panes. In the previous section, we created three windows (one for each execution of C-b c) - each with multiple panes.
The tmux server will stay alive even if the terminal closes. This means that you can recover a session even in a completely separate terminal.
Killing Tmux Sessions
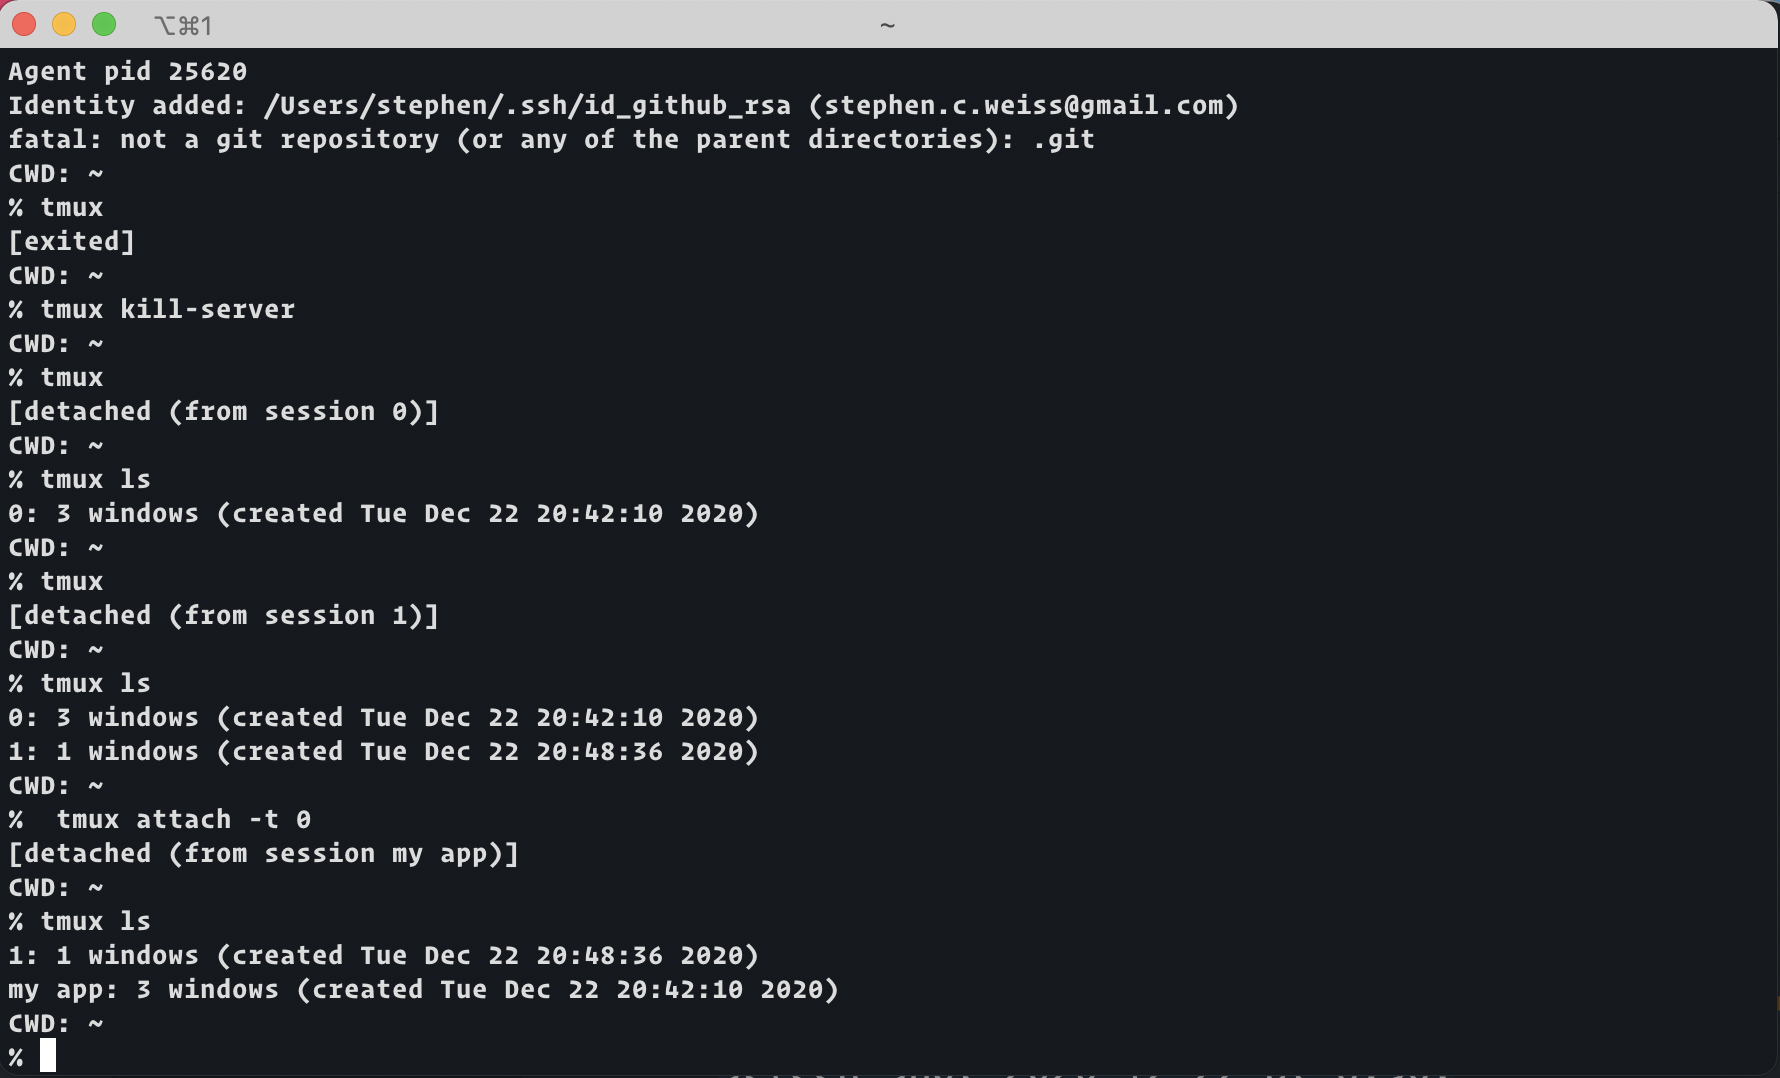
If you want to kill a tmux server, you can do so with the kill-session command. In order for this to work, you first need to know the name of the session you want to kill.
% tmux lsImagine that you have one named session running right now, scratch. In that case, printed to the screen you’d see a line like this:
scratch: 1 windows (created Tue Dec 22 20:48:36 2020)If you wanted to kill that session, you’d simply name it:
tmux kill-session scratchNow, if you looked at tmux ls again, there would be no sessions still running.
If you want to kill all sessions, you can also execute tmux kill-session without an argument.
Naming Sessions
Sessions are easier to manage if the names are meaningful (instead of the auto assigned id provided when a new session is started).
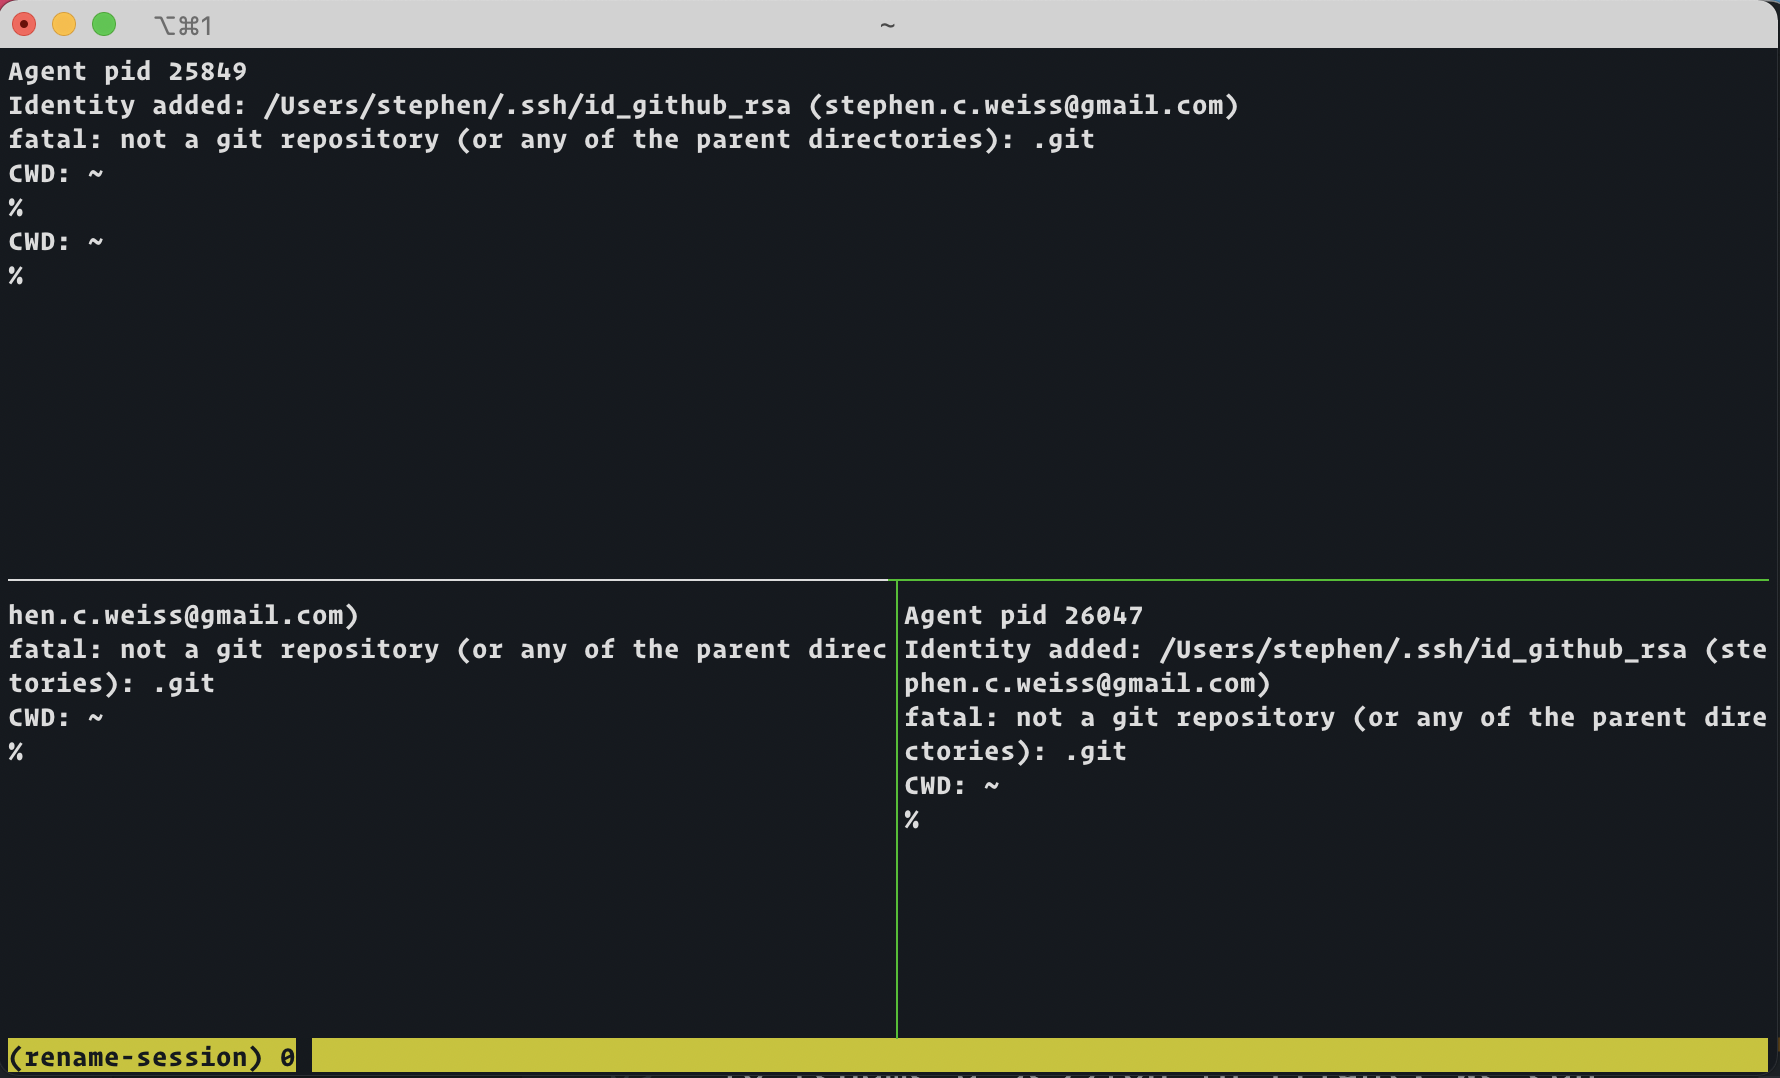
To rename a session in flight, we can use C-b $. This command will change the status bar into a command line with the prompt: (rename-session).
Note This is a shorter way that assumes you are renaming the current session. A longer command would be
C-b :to open the command prompt. Then:rename-session -t <target-session-name> <new-name>
The new name (my app) will now appear in the status bar.

Importantly, if we detach from a session, we will also see it listed by name when we run tmux ls.
We can also rename a session from outside of tmux with a tmux command from the terminal similar to the long way described above: <new-session-name, e.g.,
tmux rename-session -t 1 scratch
tmux ls
my app: 3 windows (created Tue Dec 22 20:42:10 2020)
scratch: 1 windows (created Tue Dec 22 20:48:36 2020)To name a session immediately, we can create it with a name.
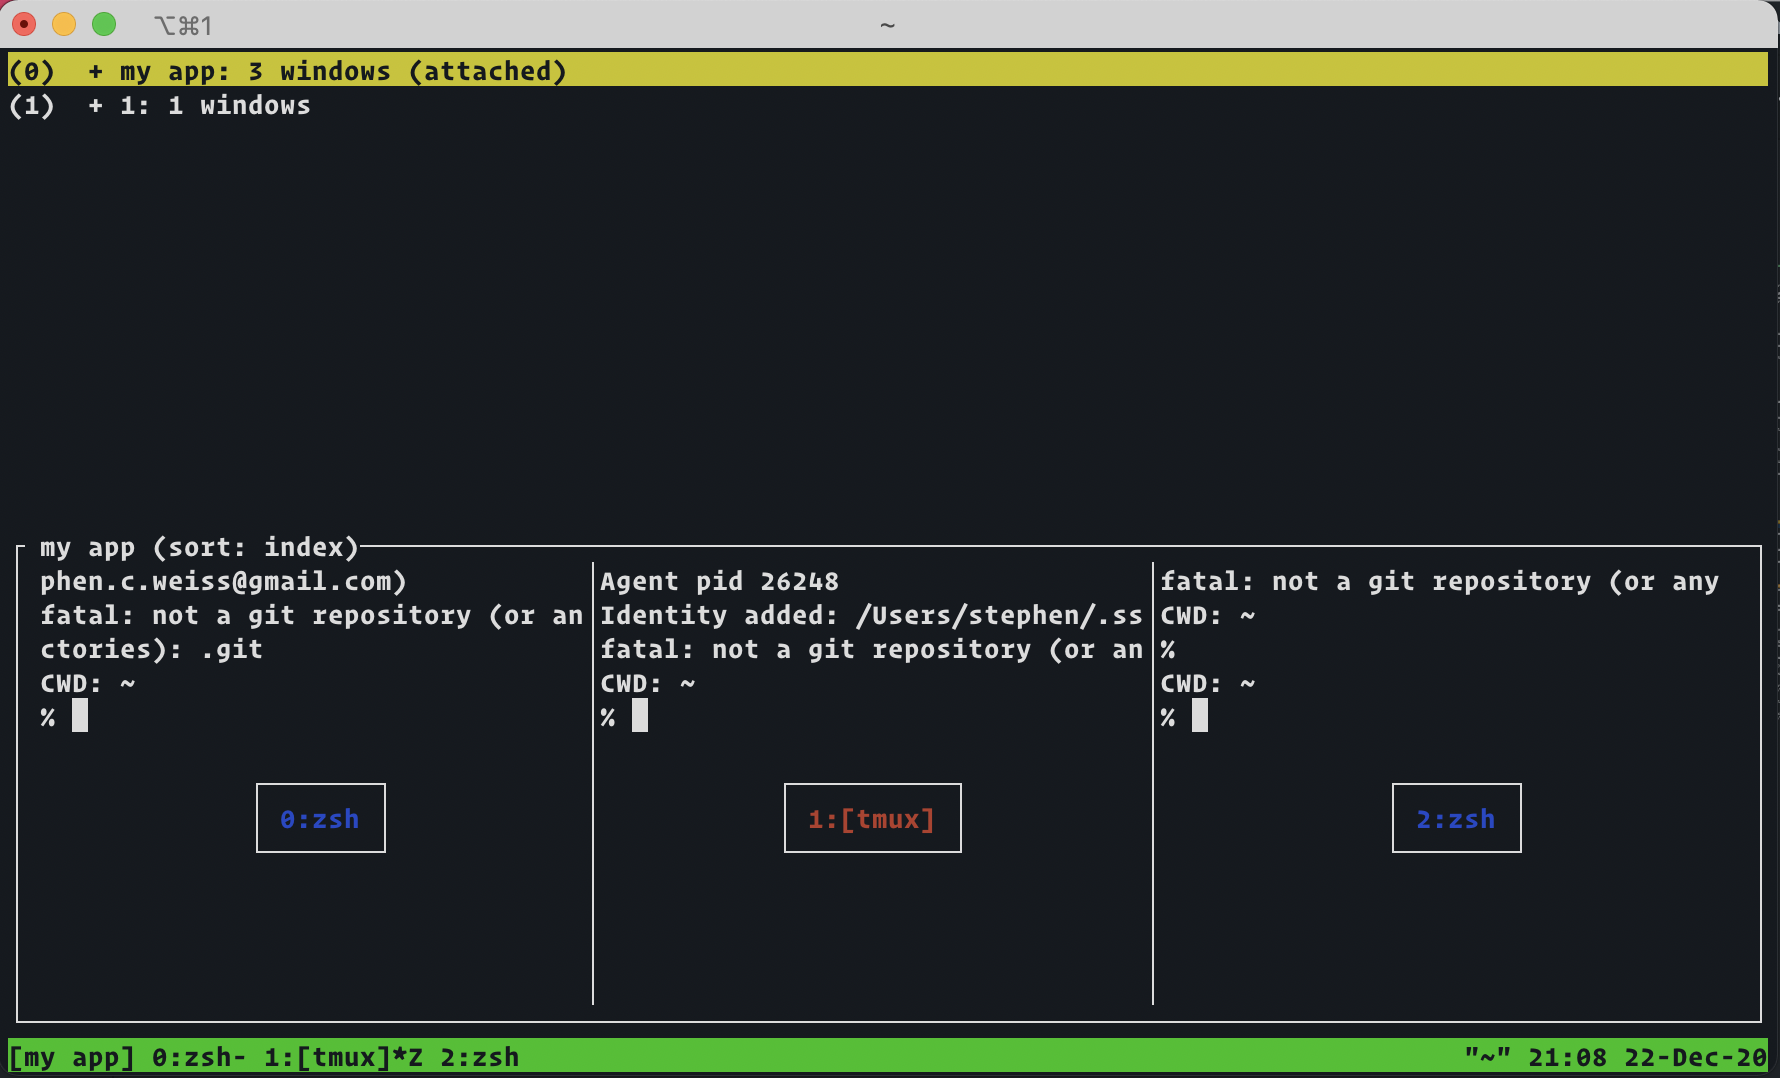
tmux new -s thirdThis will attach to a new session (named third) which we can confirm within tmux with C-b s:
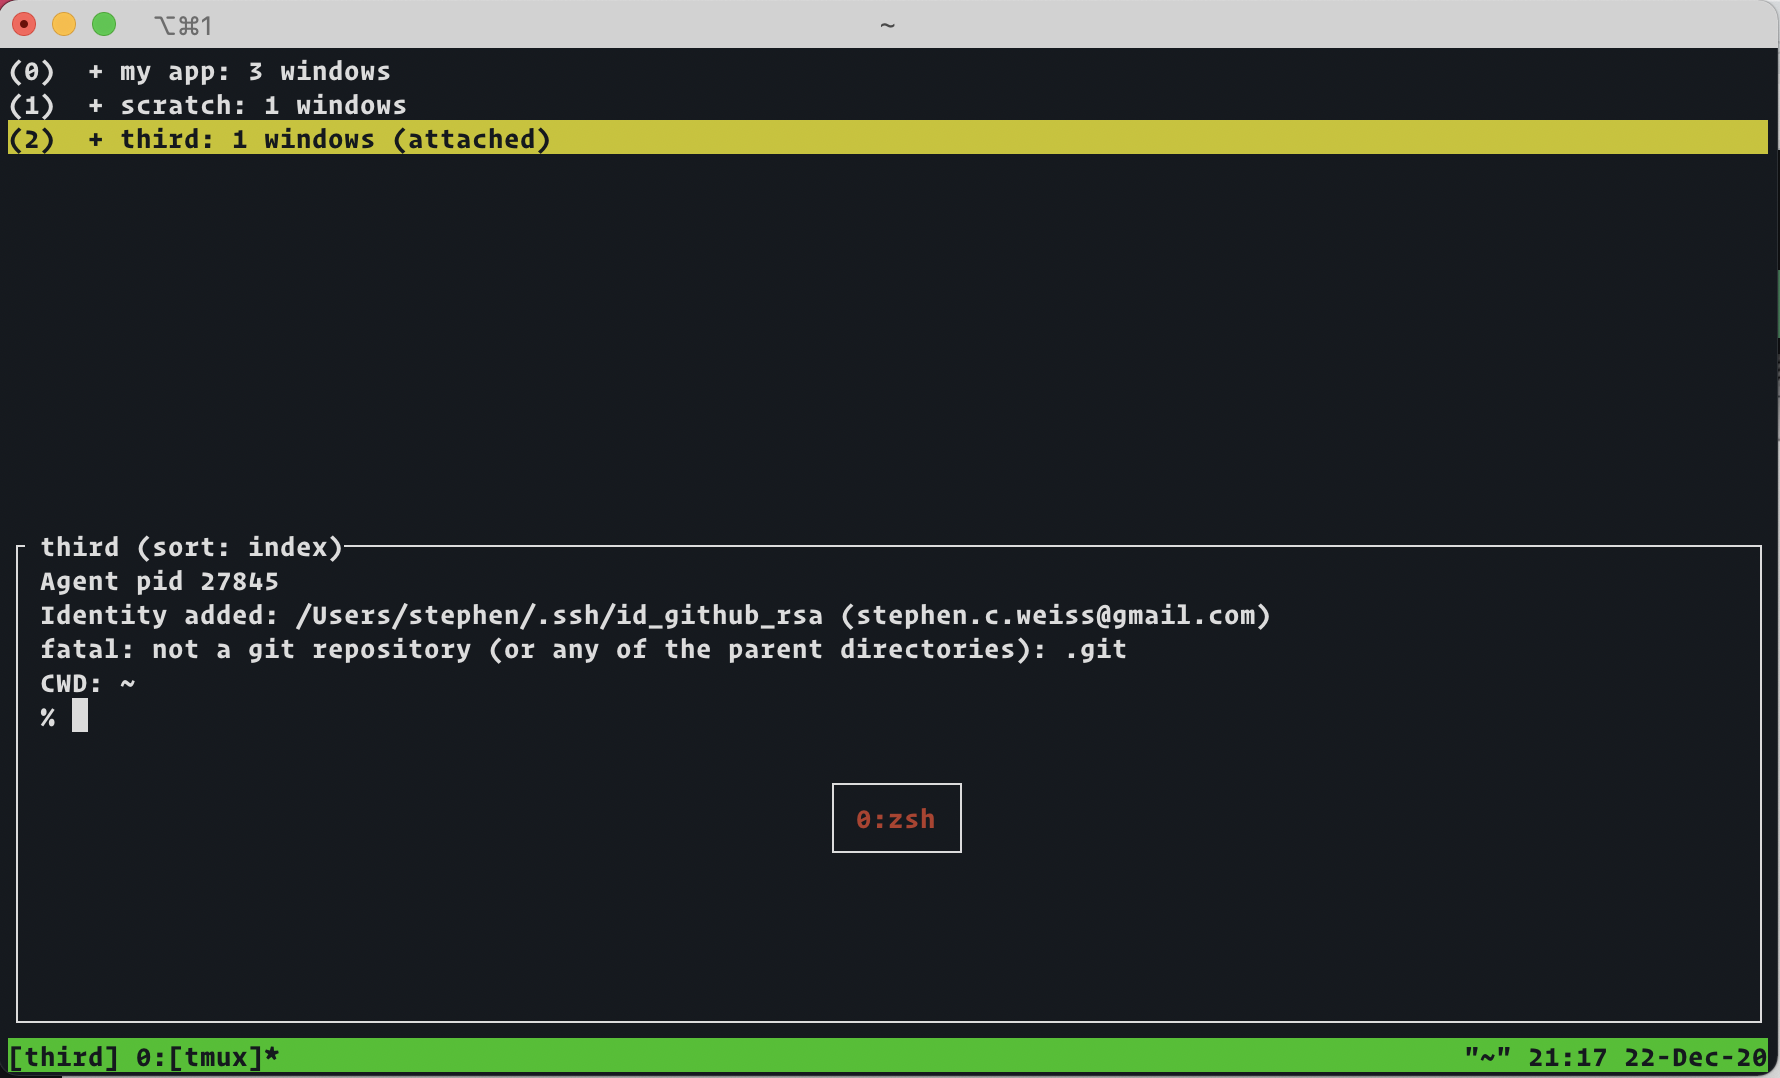
Conclusion
That’s all for now. I’m excited to start using tmux more and discovering new ways to improve my workflows!
Resources
- Wrangle Your Terminal With Tmux by Bonnie Eisemann - My introduction to tmux, this course by Bonnie Eisemann is jam packed with useful nuggets to get you up and running quickly with tmux.
- Tmux Wiki - The official wiki of the tmux project on GitHub has lots of useful documentation as well.
- Tmux Cheatsheet by Andrey Tarantsov - Inspiration for keybindings and well documented
- Tmux Cheatsheet by Henrik
Related Posts
Hi there and thanks for reading! My name's Stephen. I live in Chicago with my wife, Kate, and dog, Finn. Want more? See about and get in touch!